Mastering the Art of Professional Bronzer Application

A sun-kissed, radiant complexion is a makeup goal many of us aspire to achieve. Bronzer is a key player in this endeavor, providing warmth, definition, and a healthy glow to your skin. However, the art of applying bronzer can be a bit tricky, and when not done right, it can leave you looking more like a muddied mess than a bronzed goddess. In this article, we explore professional bronzer application tips and tricks to help you achieve that flawless, sun-kissed glow.
1. Choose the Right Bronzer:
Before you even start applying bronzer, it's crucial to select the right shade and type for your skin. Here are some pointers:
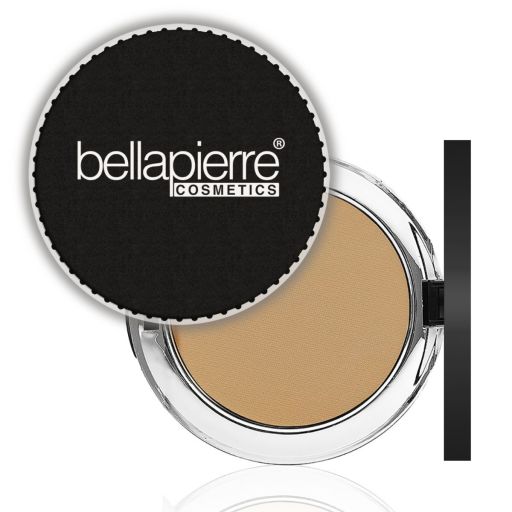
Shade Selection: Opt for a bronzer that is only one or two shades darker than your natural skin tone. Cool-toned bronzers work best for fair skin, while warm or golden undertones are great for medium to dark skin tones.
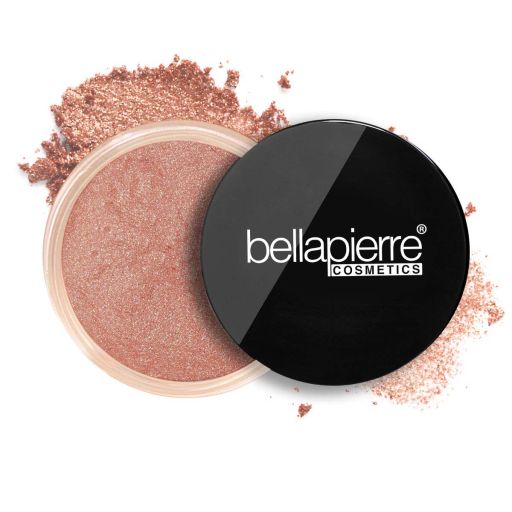
Matte vs. Shimmer: Matte bronzers are perfect for adding warmth and contour without shimmer. Shimmer bronzers can be used sparingly for a luminous look, but too much can make you look oily.
Cream or Powder: Choose between cream and powder bronzers based on your skin type. Cream bronzers are excellent for dry skin, while powder bronzers work well for oily or combination skin.
2. Prep Your Canvas:
Before applying bronzer, you should have a clean and well-prepped canvas. Here's what to do:
Skincare: Start with a clean, moisturized face. Properly moisturized skin ensures an even application of bronzer.
Foundation: Apply your foundation and concealer before bronzer. This creates a smooth base for the bronzer to adhere to.
3. Tools and Techniques:
The right tools and techniques can make all the difference in your bronzer application:
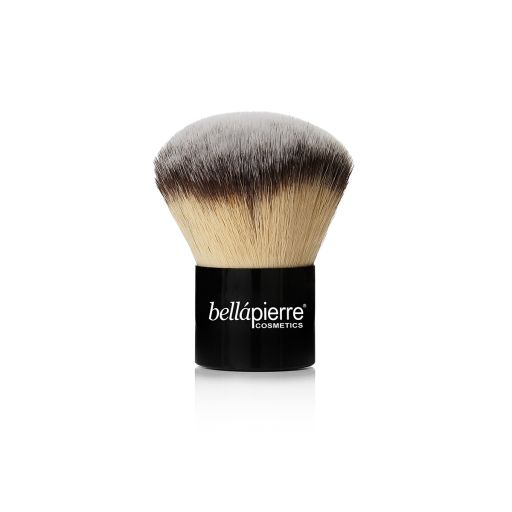
Brushes: Use a large, fluffy brush for powder bronzer and a makeup sponge or brush for cream bronzer. A smaller, more precise brush can be used for contouring.
The "E" or "3" Technique: To create a natural sun-kissed look, apply bronzer in the shape of the letter "E" or "3" on both sides of your face. Start at your forehead, sweep along your hairline, down to your cheekbones, and finish at your jawline.
Blend, Blend, Blend: Blend your bronzer well to avoid harsh lines or patches. Circular motions are effective for a seamless blend.
4. Contouring and Sun-Kissed Glow:
Bronzer can be used for both contouring and achieving a sun-kissed glow. Here's how:
Contouring: Apply bronzer in the hollows of your cheeks, along your jawline, and on the sides of your nose to sculpt your face.
Sun-Kissed Glow: Sweep bronzer on the high points of your face where the sun naturally hits, such as the tops of your cheekbones, the bridge of your nose, and your forehead. This will give you that healthy, radiant glow.
5. Less is More:
Remember, adding more bronzer if needed is easier than removing excess. Begin with a light application and add more as necessary. You want to look naturally bronzed, not overdone.
6. Finishing Touches:
Complete your bronzer application with these finishing touches:
Blush: A touch of blush on the apples of your cheeks can complement your bronzed look.
Highlighter: A subtle highlighter on your cheekbones, brow bone, and the inner corners of your eyes can enhance your overall glow.
7. Long-Lasting Bronzer:
To ensure your bronzer stays put all day, you can finish with a makeup setting spray. This will help lock your makeup in place for all-day wear.
Mastering professional bronzer applications requires the right products, techniques, and attention to detail. By choosing the right bronzer, prepping your skin, using the correct tools, and following these tips and tricks, you can achieve that sun-kissed glow that looks flawless and natural. So, go ahead, get bronzed, and shine like the goddess you are!
Back


